

Community post
Mining STEEM For DUMMIES - On Mac OS!
Setup preparation and Start Mining STEEM Step by Step on Mac OS. Get started today!
Step 1.
Install Xcode from the App Store and open it for the first time to get the build tools installed
Step 2.
Open the Terminal and leave it open.
Type :
Install Homebrew by typing this into the Terminal.
/usr/bin/ruby -e "$(curl -fsSL https://raw.githubusercontent.com/Homebrew/install/master/install)"It will then pause for a moment before resuming the installation.
Step 3.
Type :
brew install python3 automake doxygen openssl wget
And Then (After The Installation):
Type :
brew link openssl --force
Step 4 :
Type :
wget -O boost_1_60_0.tar.gz http://sourceforge.net/projects/boost/files/boost/1.60.0/boost_1_60_0.tar.gz/download
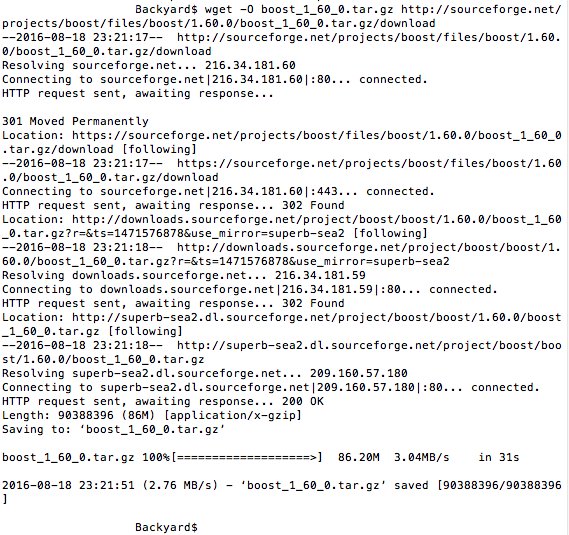
Step 5 :
tar xzvf boost_1_60_0.tar.gz
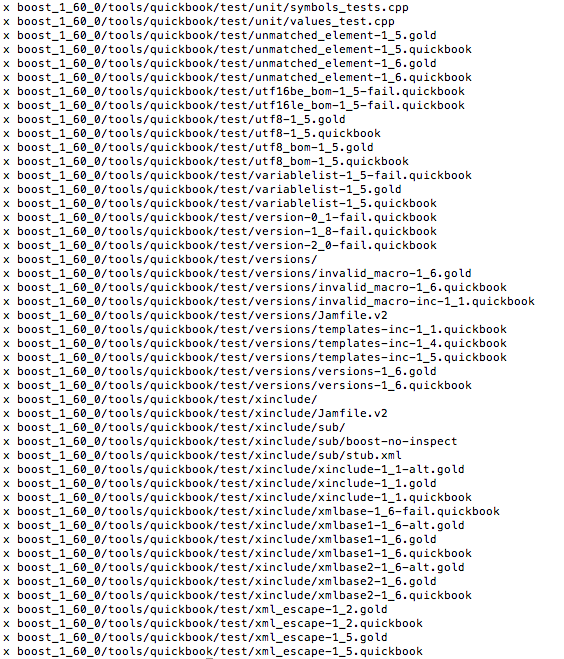
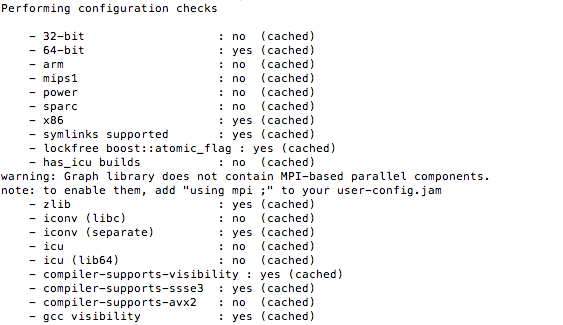
You should see A LOT of this "x boost_1_60_0"
Step 6:
Type :
cd boost_1_60_0
Step 7:
Type :
./bootstrap.sh --prefix=/usr/local
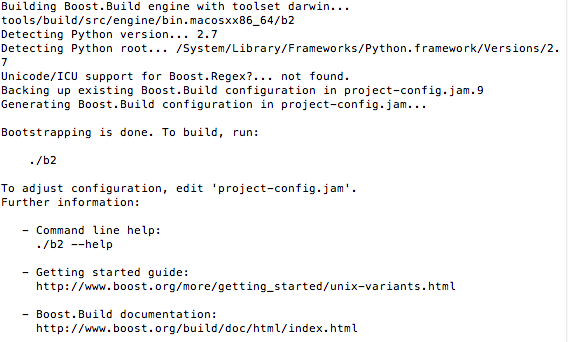
Step 8:
./b2 install
Step 9:
Type :
cd
Step 10:
Type :
git clone https://github.com/bitcoin/secp256k1

Step 11:
Type :
cd secp256k1
Step 12:
Type :
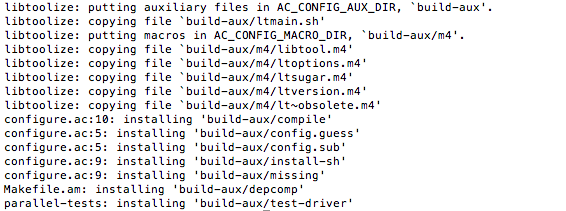
./autogen.sh
Step 13:
Type :
./configure
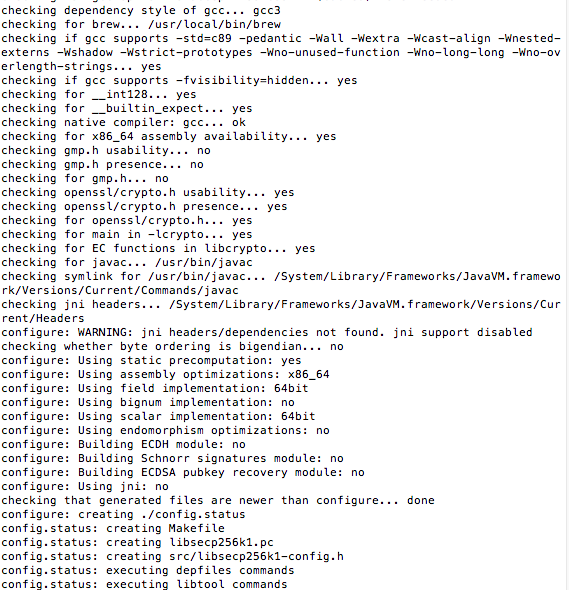
There should be more like this too.
Step 14:
Type :
make
Step 15:
Type :
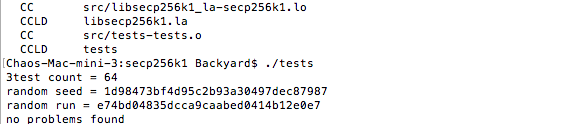
./tests
Step 16:
Type :
cd
Step 17:
Type :
git clone https://github.com/steemit/steem

Step 18:
Type :
cd steem
Step 19:
Type :
git submodule update --init --recursive
Step 20:
Go To :
https://cmake.org/download/
And download the Mac OS version of Cmake
Type :
sudo "/Users/Backyard/Downloads/cmake-3.6.1-Darwin-x86_64/CMake.app/Contents/bin/cmake-gui" --installStep 21:
Go to :
http://opensource.apple.com/source/pcre/pcre-4.1/pcre/CMakeLists.txt?txt
Download the file from right clicking as saving the page as .txt
Drag the file into the 'secp256k1' folder
Step 22:
Type :
cmake -DCMAKE_BUILD_TYPE=Release -DENABLE_CONTENT_PATCHING=OFF -DLOW_MEMORY_NODE=ON(Type that together)

It should like this towards the end.
Step 23:
Type :
make
Step 24:
Type :
cd programs/steemd
Step 25:
Type :
./steemdStep 26:
Press ' Ctrl + C '

Step 27:
-Go to :
http://steemitup.eu/
-Download the Steemit Blockchain
-Once your downloaded the Steemit Blockchain
-Locate your witness_node_dir_data folder and replace that blockchain folder with the one you just downloaded.
Step 28 :
Open the config.ini from steem/programs/steemd/witness_node_dir_data/config.ini with your text editor program.
In the config.ini file : Paste this where the 'seed=node' is :
seed-node = seed.steemed.net:2001 seed-node = seed.steemed.com:2001seed-node = 52.74.152.79:2001seed-node = 45.32.186.90:1779seed-node = 45.32.186.90:1781seed-node = 192.99.4.226:2001seed-node = 46.252.27.1:1337seed-node = 81.89.101.133:2001seed-node = 52.4.250.181:39705seed-node = 85.214.65.220:2001Then, where the ' witness = ' is, place your steem account name there. Remember to get rid of the '#'.
Same goes to where the 'miner' is :
miner = ["account_name","your_private_active_key_here"]mining-threads=2 (the recommended amount of threads to start with)
Remember to remove the # at the beginning!
Then save the file and exit.
Step : 29
Type :
./steemd once again. Let the blockchain sync up, and it'll start to mine.

And you've started to mine on your Mac OS! Congratulations!
Sources :
-https://steemit.com/steem/@trung81/mining-seem-on-a-mac
-https://steemit.com/steemhelp/@joseph/mining-steem-for-dummies
-researching
-testing it
May not be 100% accurate.
Replies (10)
nice and easy then :/
This guide seems new and improved since I tried a couple weeks ago. I will give it another shot once I get some time. Thank you for all your hard work and effort!
Why that face?
Thanks! If you encounter any problems, please let me know!
No reason, its just not easy so kinda frustrating.
This is the brick wall I'm hitting
http://www.crowdfunder.website/linux/pics/shell-error-1.png
Yeah, when making, those were the problems I had too.
For the issue you have, it's an easy fix (I hope)
Download this have I have from here :
https://www.dropbox.com/s/7oi30wf5dicdhcb/application.hpp?dl=0
Then locate your steemit folders, find the one with 'apps' in it, then drag the file into the folder. This should fix the problem.
Thanks, I will try. Man, this is almost like support. Have you experienced any profit from any of this? :)
No, and I don't intend to experience any profit from support. :)
Warning! mining STEEM is not possible anymore.
Save your time.