Reasons for my absence in Posts will become apparent below. My van conversion has progressed in giant leaps as I have spent quite a bit of planning, consideration and time putting some bulk into the build. This is PICTURE heavy, so I'll let most of the pictures do the talking.

The current stage of things - Kitchen Units in, sink installed and working (less tap/faucet), all drainage holes done and a functional shower room.
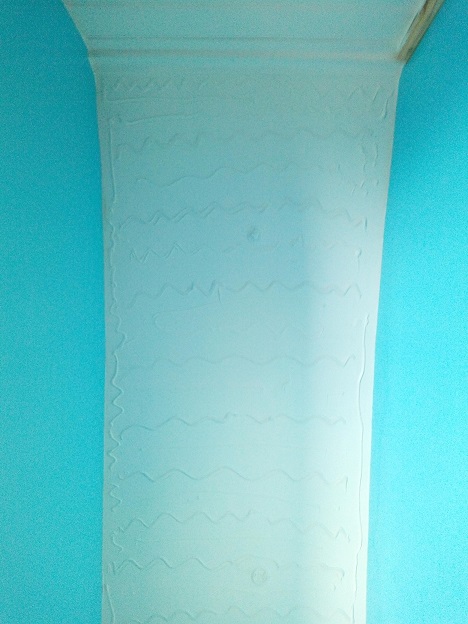
Below = just about to glue the hygienic PVC cladding for the shower cubicle. 'You can never have enough glue!'

PVC shower walls installed and sealed - Blue plastic film about to be peeled off.

The curved walls were frustratingly challenging.
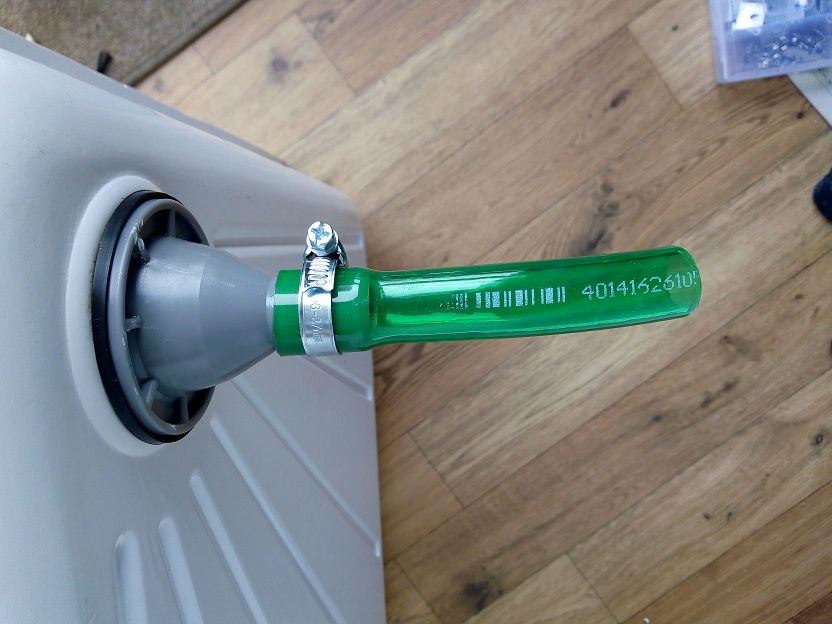
Bottom of the shower tray & the drain tube = SIMPLE!
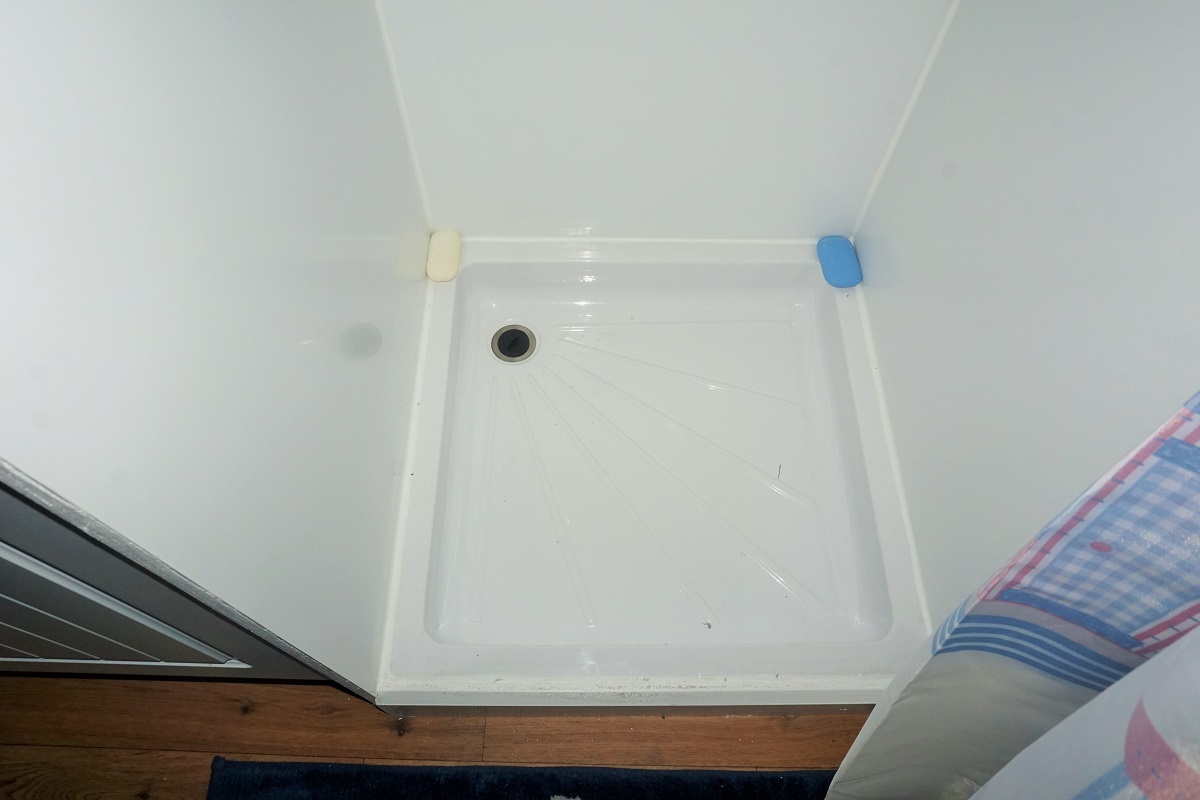
All in and sealed.
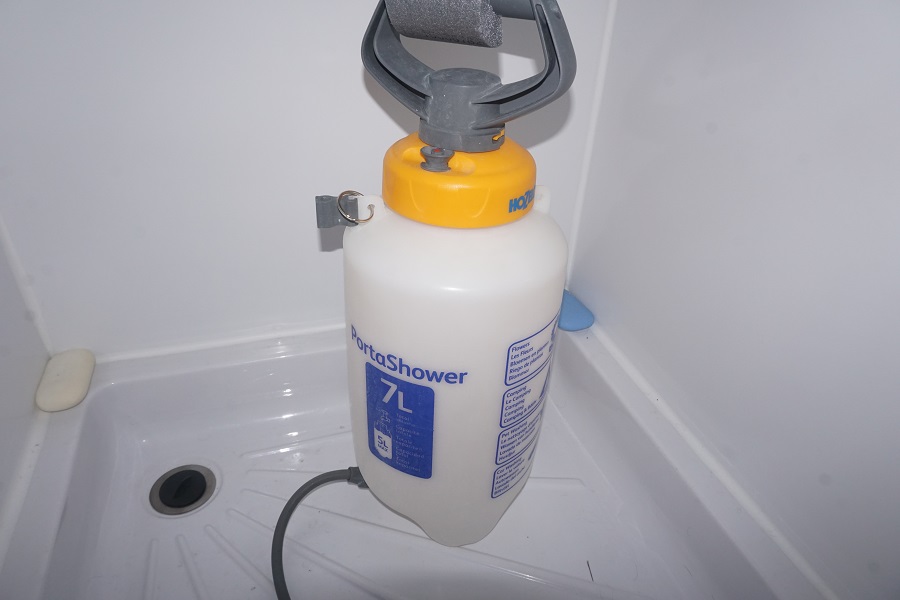
Before all the plumbing is finalised, I'll use my back-up shower.
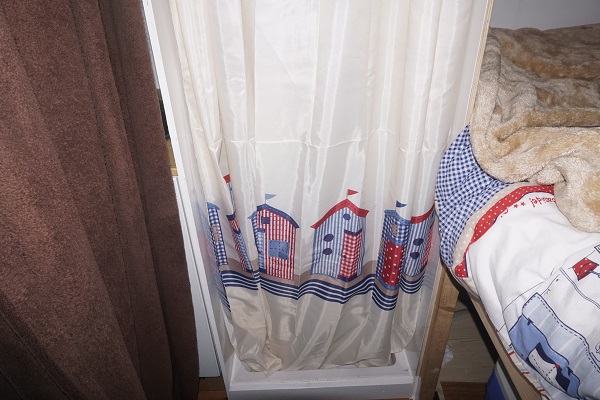
Shower curtain up!
### The Vanity Unit
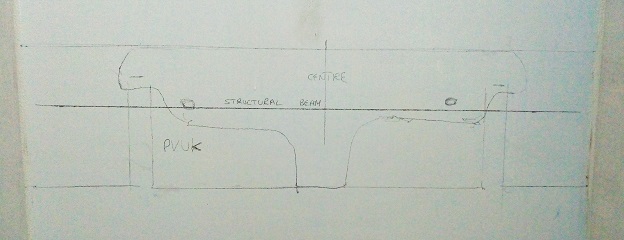
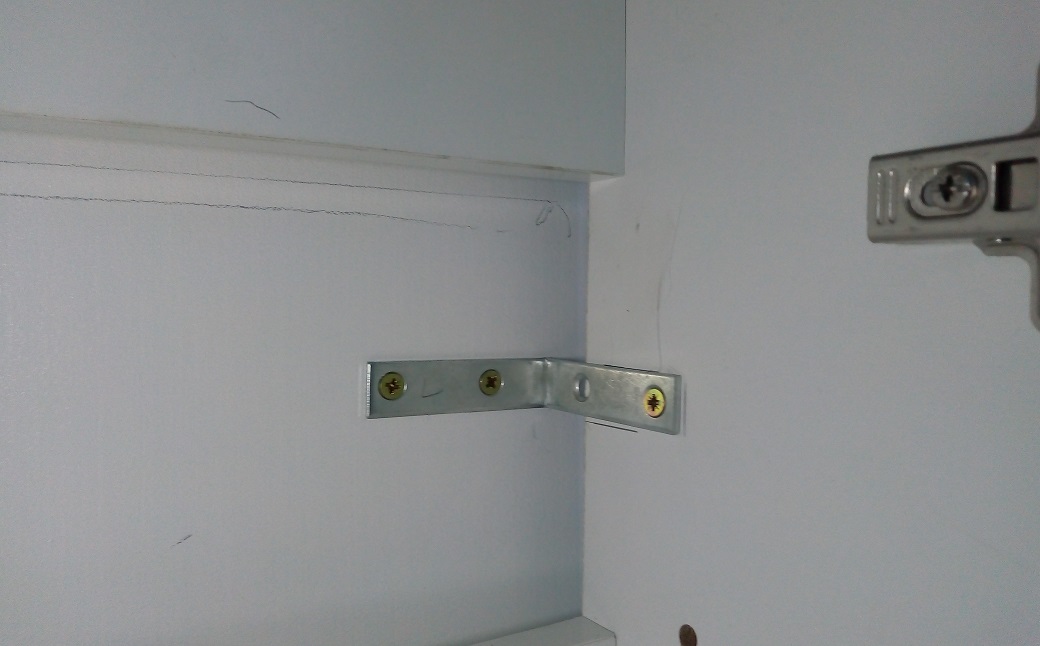
This is a standard vanity unit and sink. Made of porcelain, it is quite heavy and so required a robust installation approach, hence I made some custom brackets.
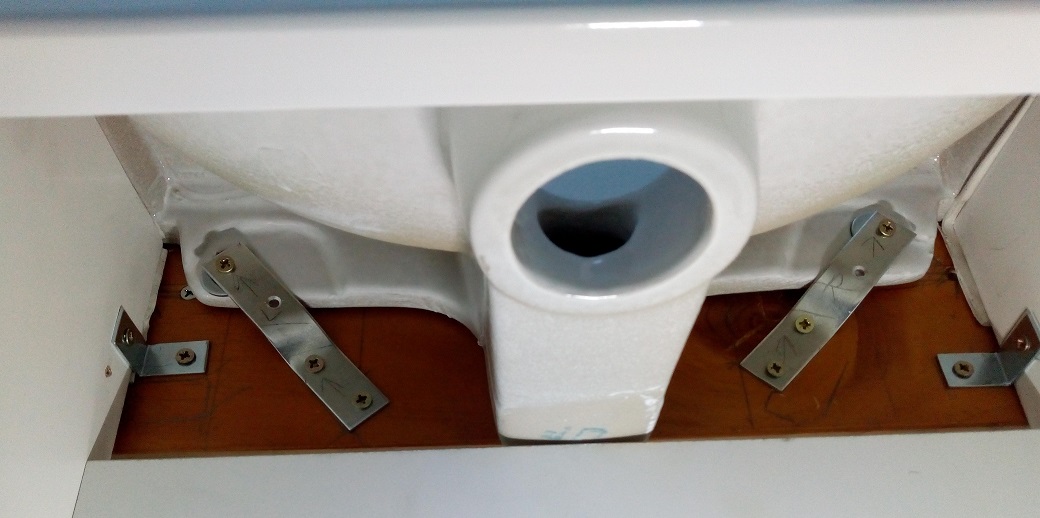
Some workings out!
In a moving and vibrating vehicle, everything requires secure fixings to the wall.
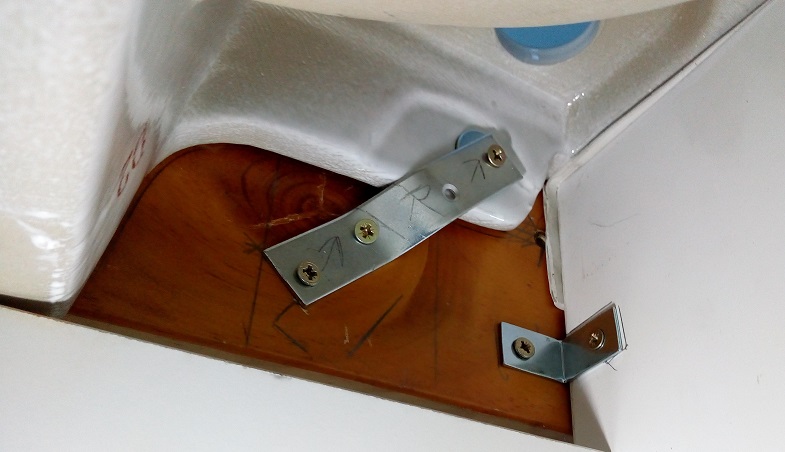
No exceptions.
DONE!
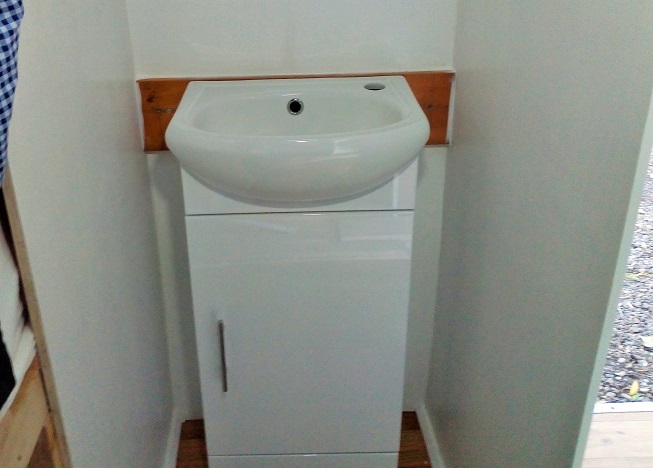
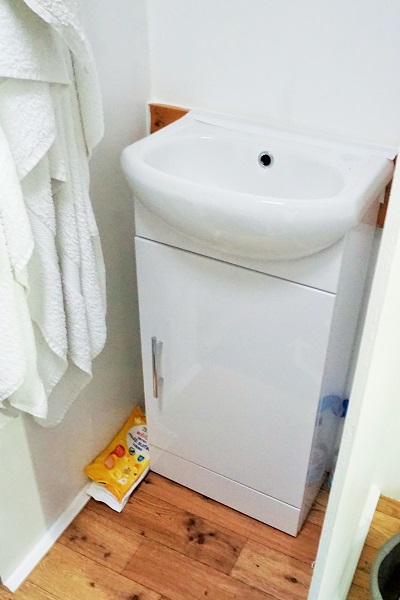The dark strip of wood behind the sink strengthens the security/distribution of weight in the installation (The walls are only 6mm plywood).
### The Kitchen Units & Sink
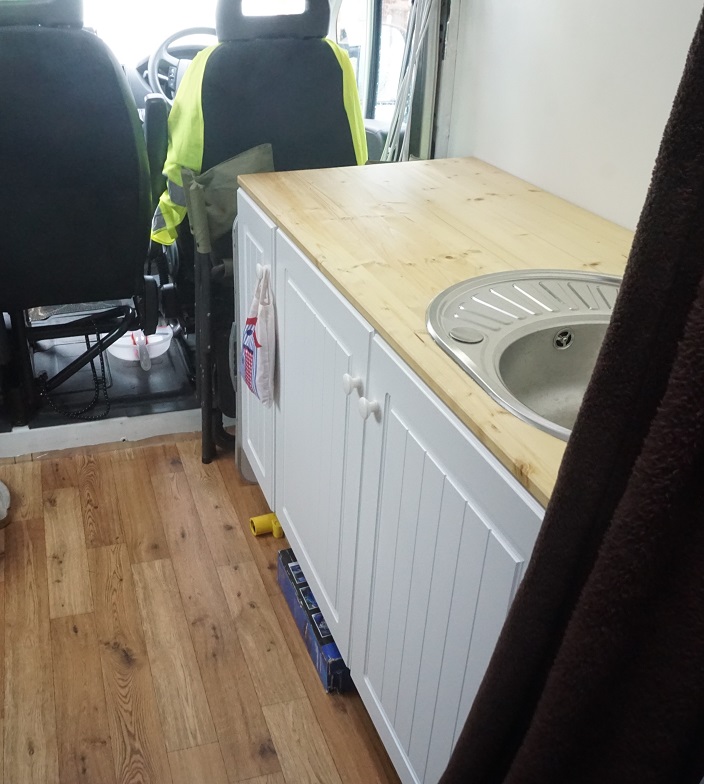
A 1ft cupboard and 3ft sink unit - A variety of supplied fixings, dowels and screws.
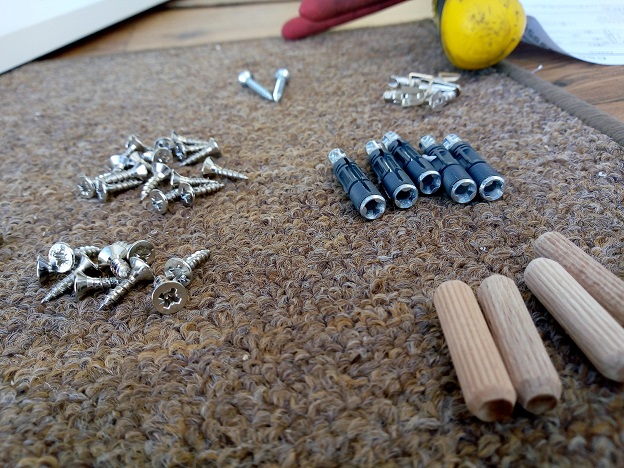Now this was pretty easy! It came with instructions.
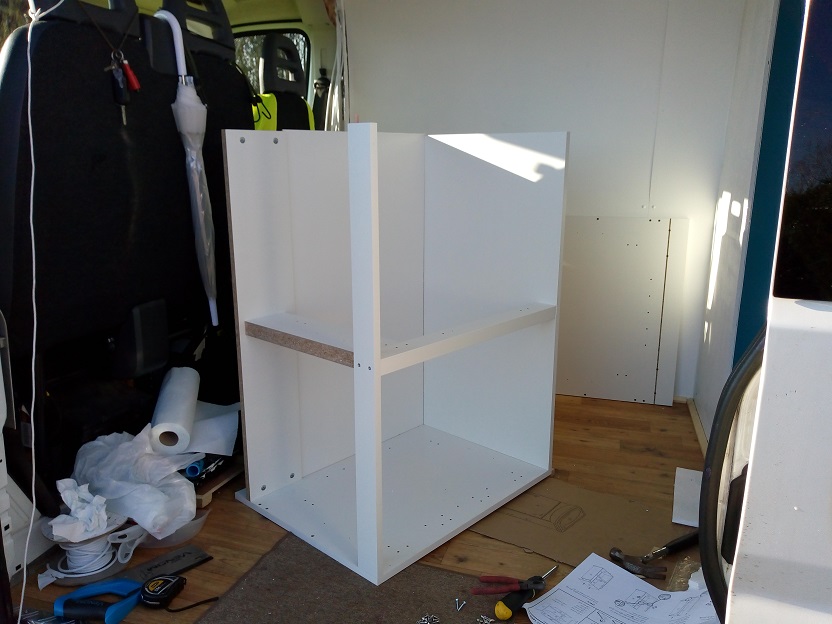Taking shape nicely.
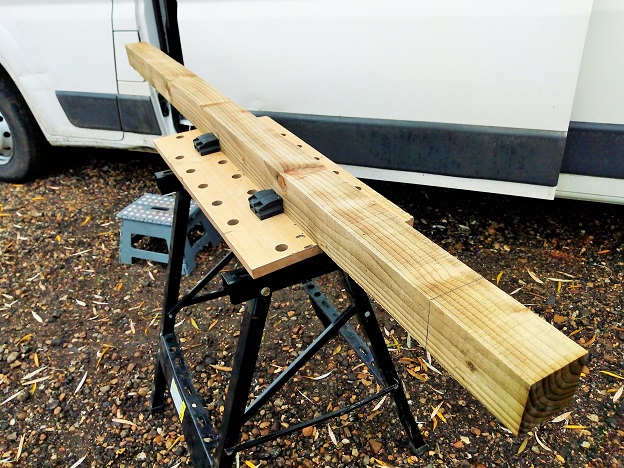
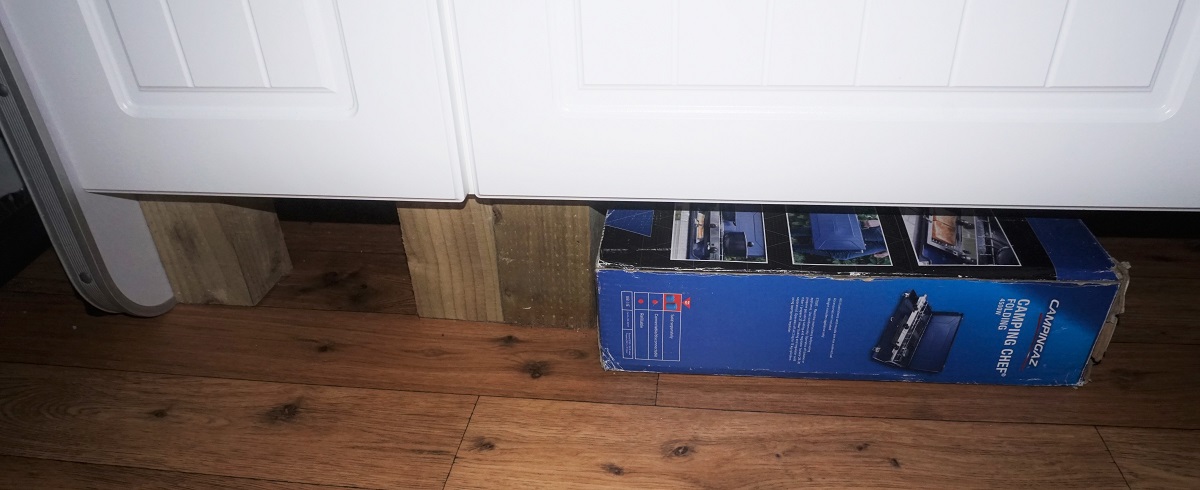
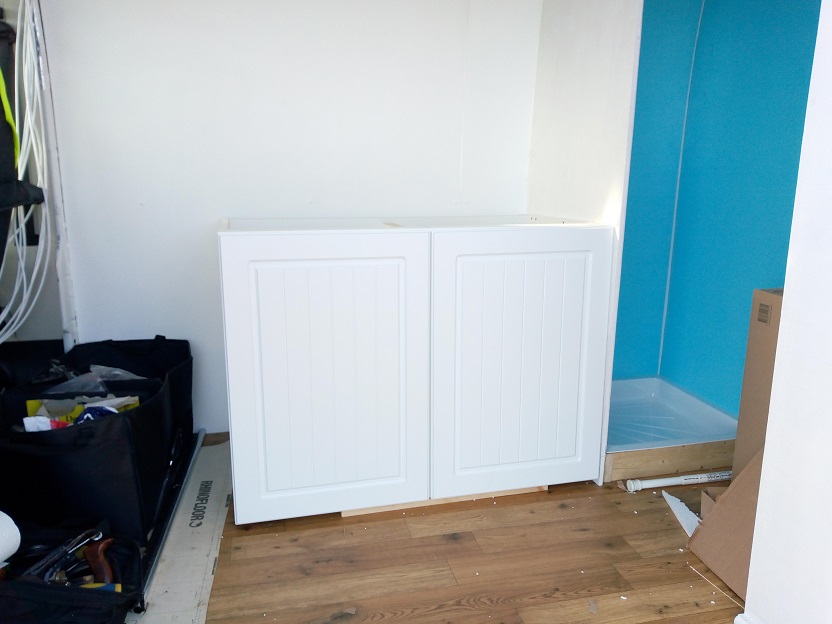Once built, I discovered that the units were going to be too low and would result in back-ache when bending over at the cooker/sink, so decided to raise them to a comfortable height. It also allowed me to maintain some under-unit storage and to be able to secure the units to the floor and walls. First though, make some raising blocks out of this fence post.
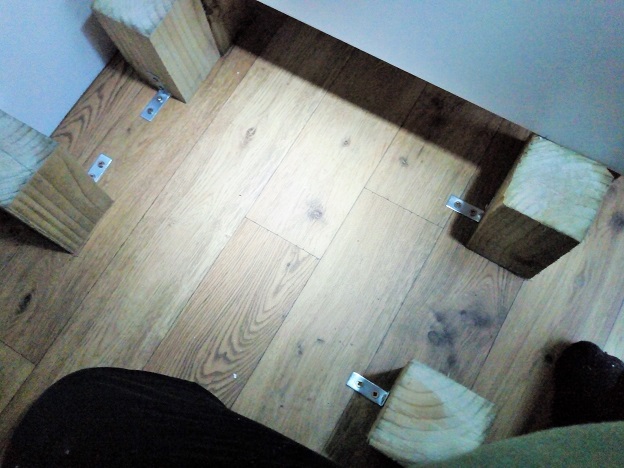
Uniformal in size and screwed to the floor.
Cabinets then screwed to the blocks. My temporary Cooker stows nicely underneath.
## The Kitchen Work Surface & Sink
I used a long and flat piece of 12mm wood (shop bought) as it is lightweight and easy to work with.
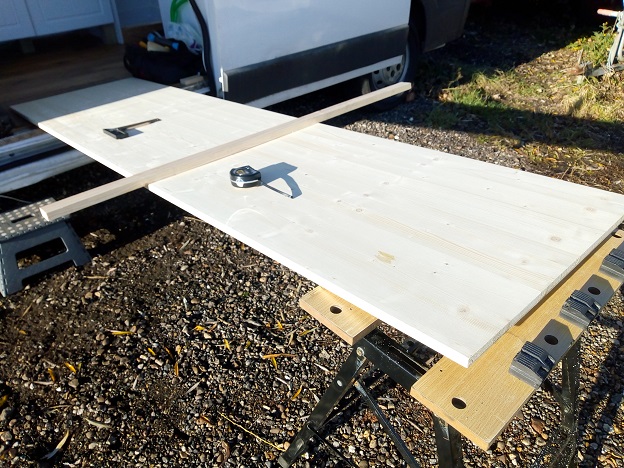Cut, seasoned and preserved with some fine oil.
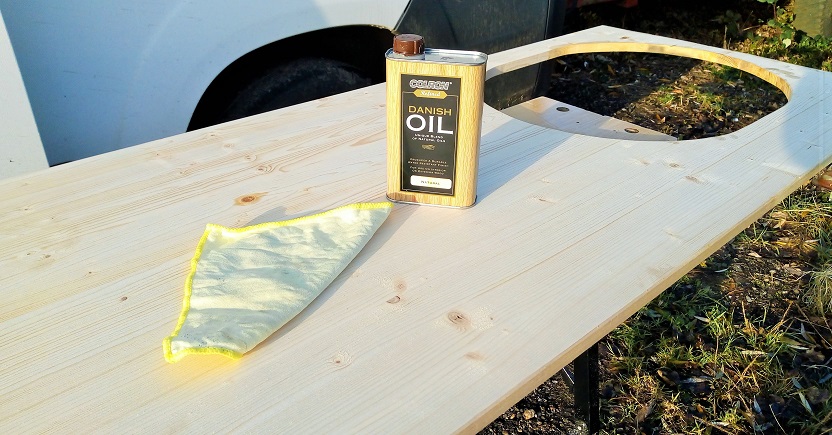Some fine looking grain patterns. Just need a tap/faucet.
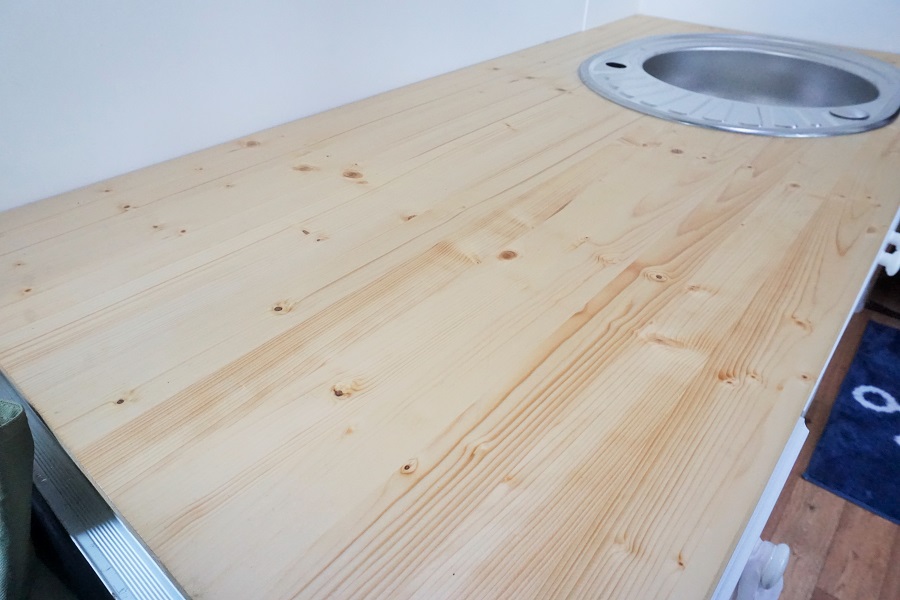All secured and in place - Ready for a Trip!
Thanks for dropping by folks... Questions, queries and comments below please (I am no DIY expert lol)!

Van-build stages:
My Latest Brainwave & Project
Assessing The Task
The Strip Out
Floor Preparation & Rust Treatment
Hole Plugging & Lock mending
Finalising The Floor Foundations
The Insulation Begins
Insulating The Floor
Wall Insulation
The Bed & Test Run
Replacing The Windscreen
Building The Bathroom Walls


Replies (11)
Awesome job. You were wise about that fact there will be a lot of vibrations. Looks good and yes, a lot of work! Good job. Just about done.
Thanks.... I'm glad i documented the build for future reference... Now I can take trips out into the country....
Hi preppervetuk,
Visit curiesteem.com or join the Curie Discord community to learn more.
I'm glad you documented it all so well for my future reference too! LOL!!!!! Yup, keep it stocked and ready to go.
Howdy sir preppervetuk! It's amazing, the work is beautiful and I think it's incredible that you can get the kitchen, bath and shower in that size of van!
Well, I have what I call a 'bathroom', but in reality it's a shower, toilet and vanity unit sink (6ft x 2ft), still a comfortable space and functionaly effective..... All there is now are some little finishing touches, but it's definately now operational.
yes sir it's very impressive..is that for to travel around in or to live in if things get chaotic and you need to leave the city?
It's primarily for recreational use - To see and visit parts of the U.K. we've never been to. Second to that it's a Bug Out Vehicle to one of my Bug Out Locations.
I live in a semi urban area.
howdy sir preppervetuk! very interesting indeed. so you have a bug out location somewhere already picked out...are there supplies there too? Also, you said "visit parts of the U.K. we've never been to" by "we" you mean one or two partners? not trying to be nosy just curious because I had the idea that you were by yourself.
Yeah, I have two locations I can go to if need be.... And one abroad too...
By 'We', I mean me and my Fiance'.
For my Van - She comes up with the ideas, i build it lol.
haha! oh excellent sir preppervetuk, so she is the designer and you are the construction guy..very good. And she is on the same page as you as far as being prepared?