

Community post
DIY Forever Floor
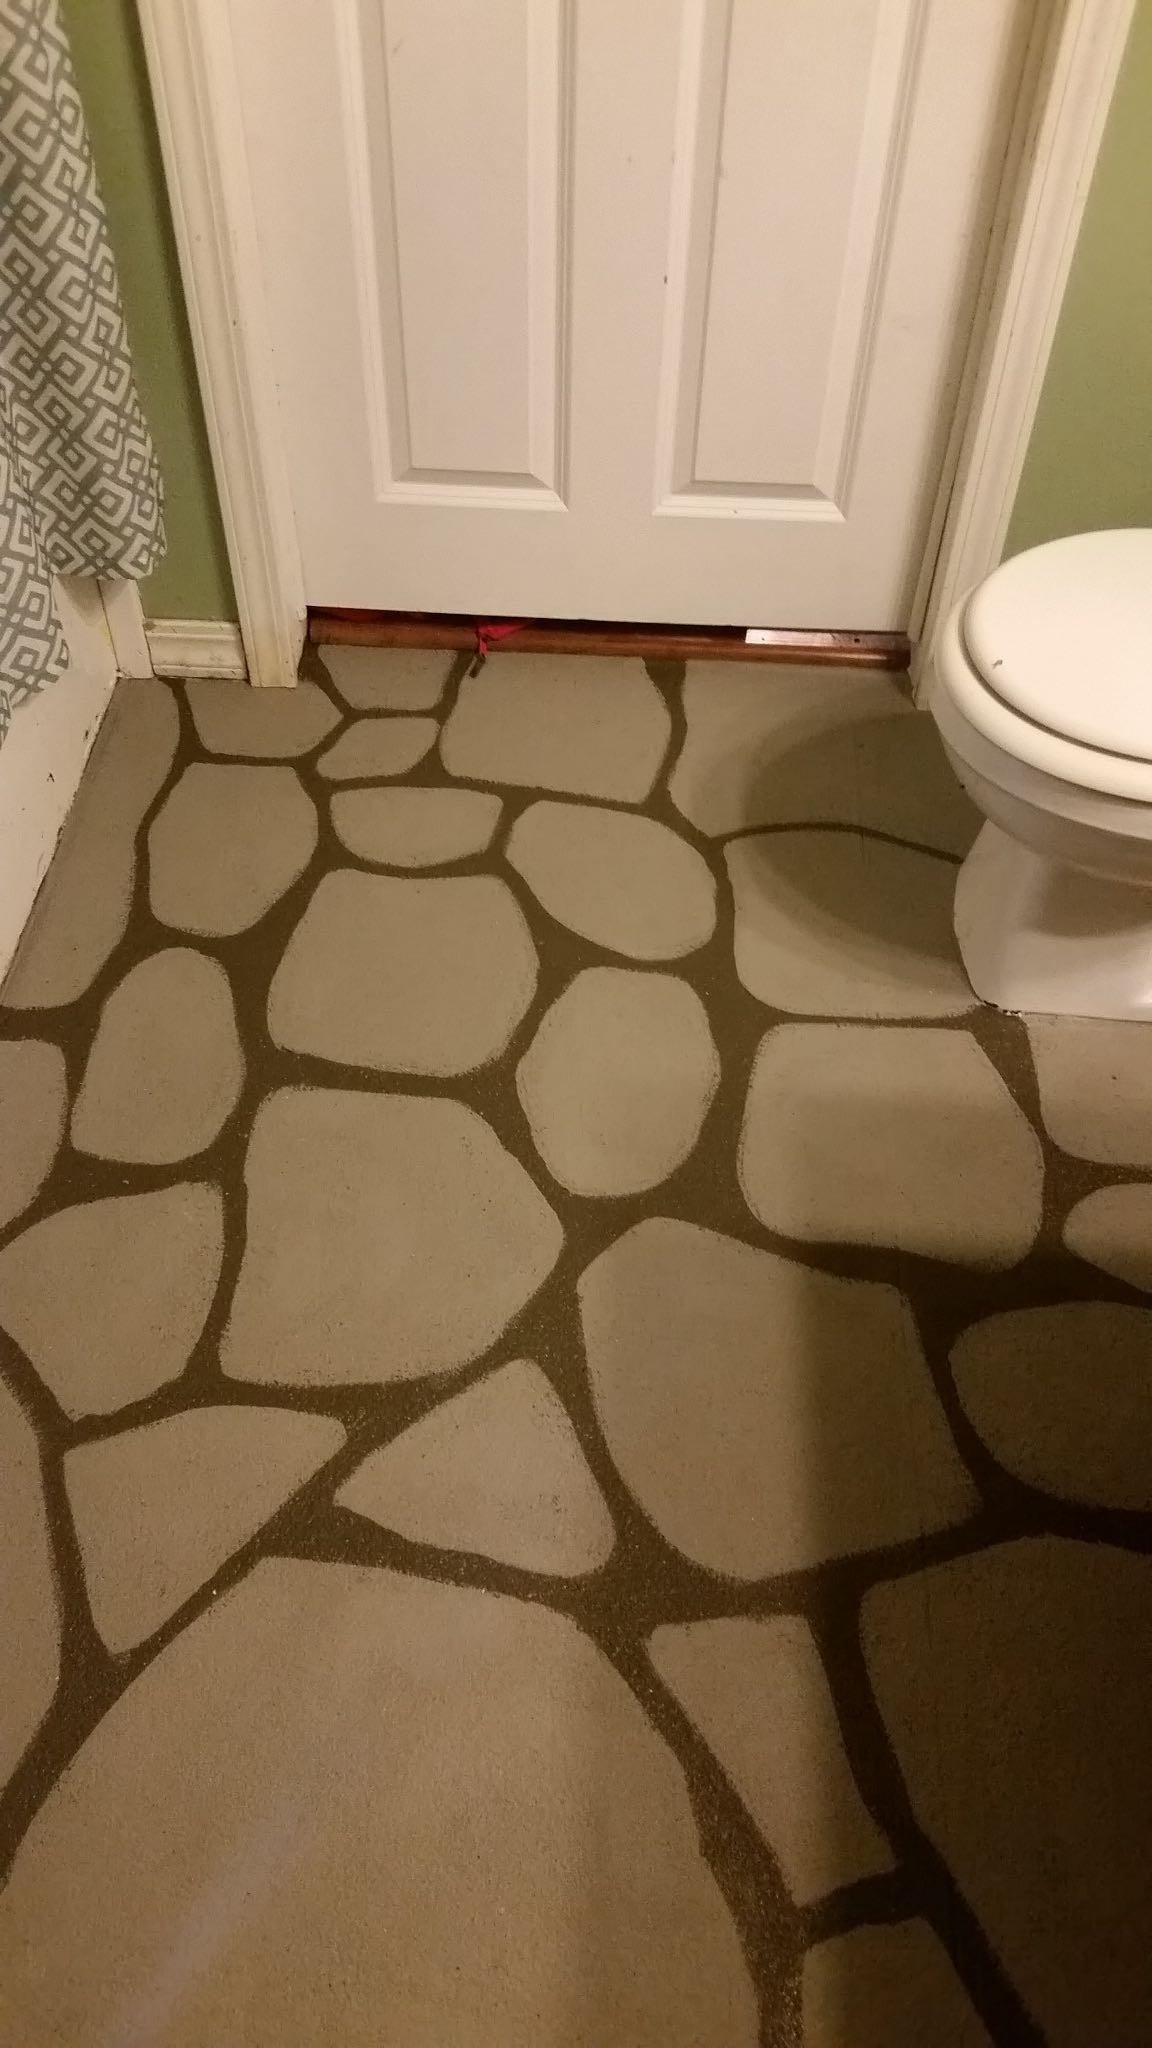
A little back story before i get on about how to make a floor like this .....
My twins have been old enough to bath themselves for a few yrs now but still like to splash water and not clean up after themselves and we ended up getting a rotten spot in the floor under the toilet that i had to cut out and repair
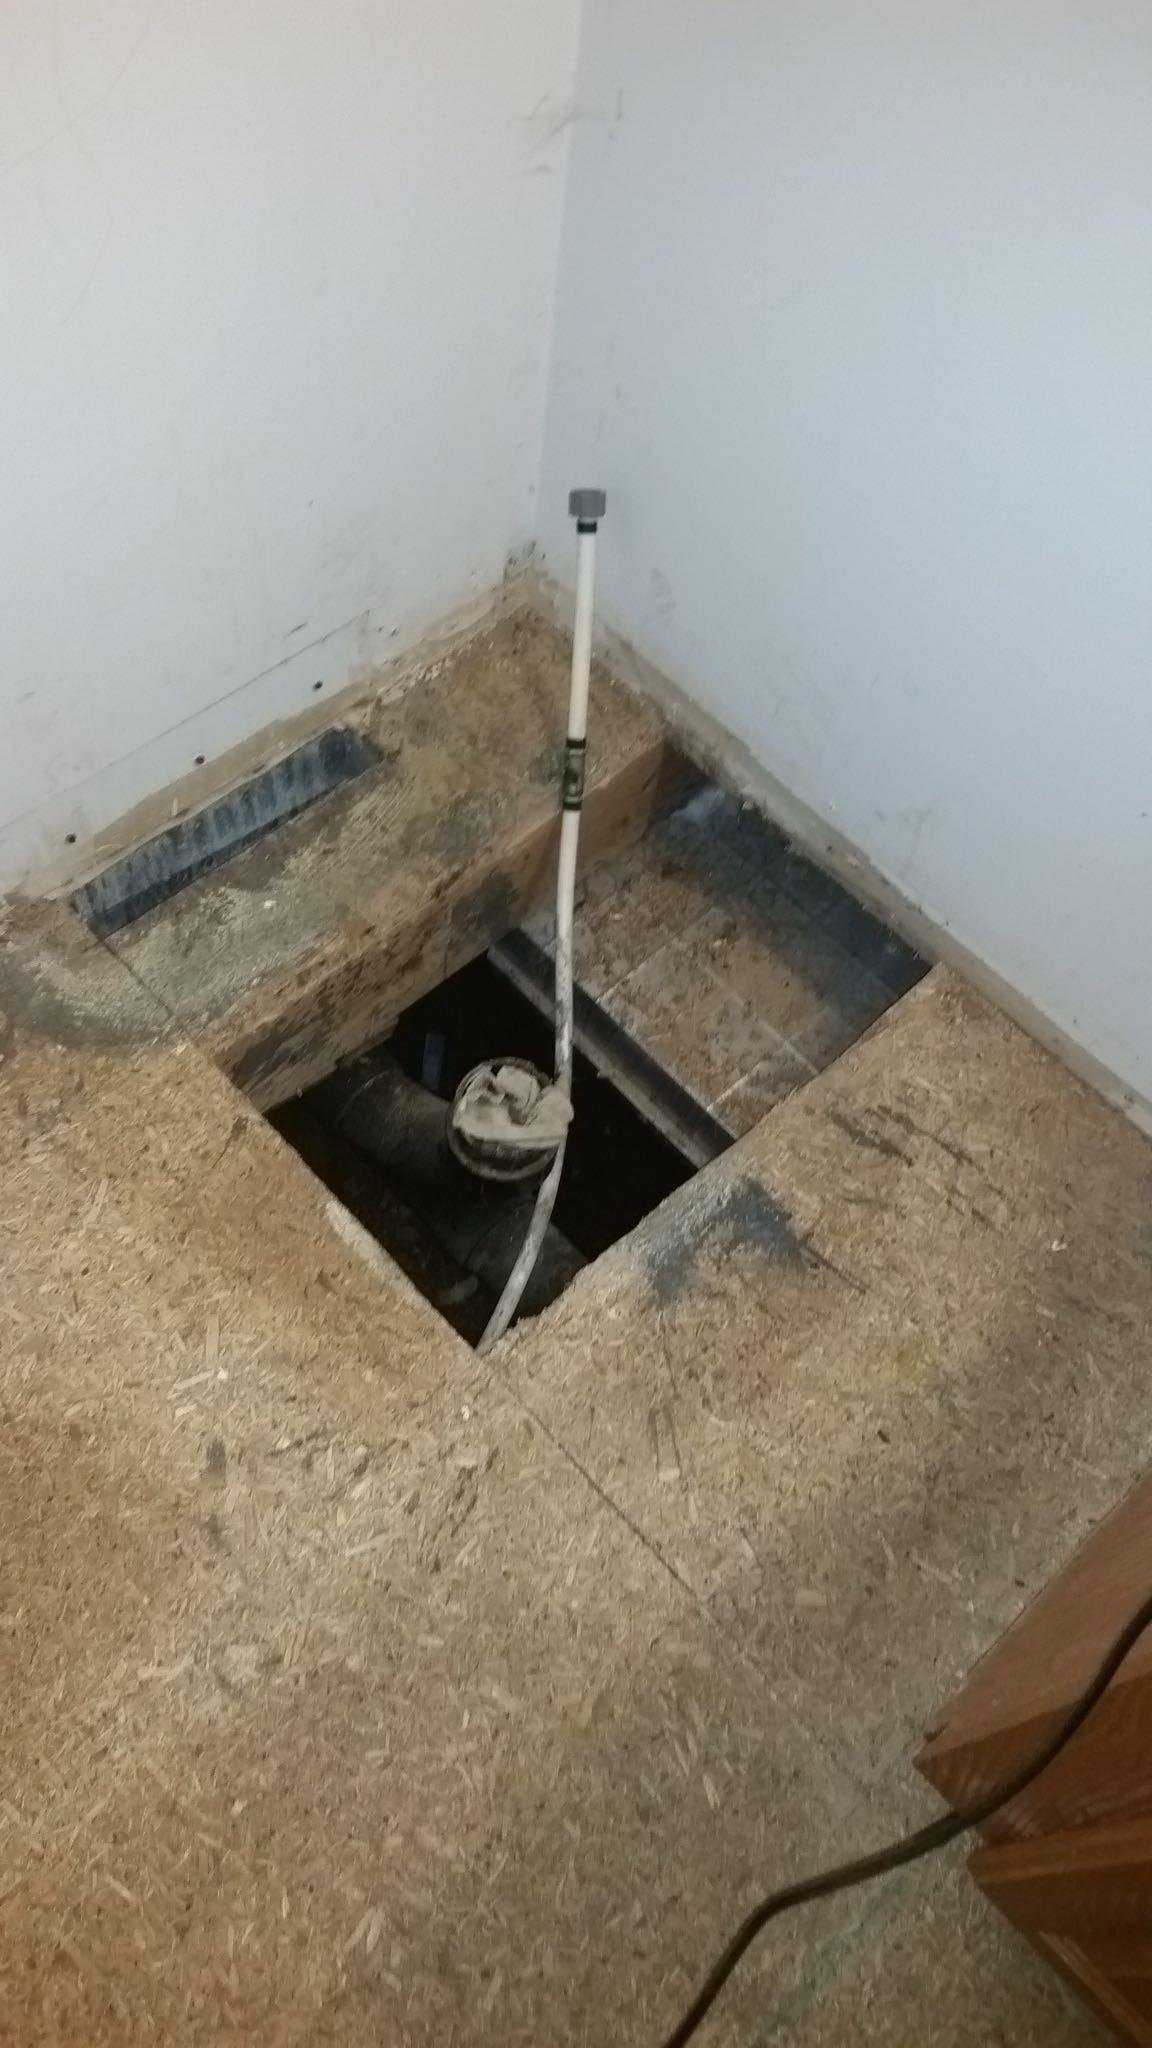
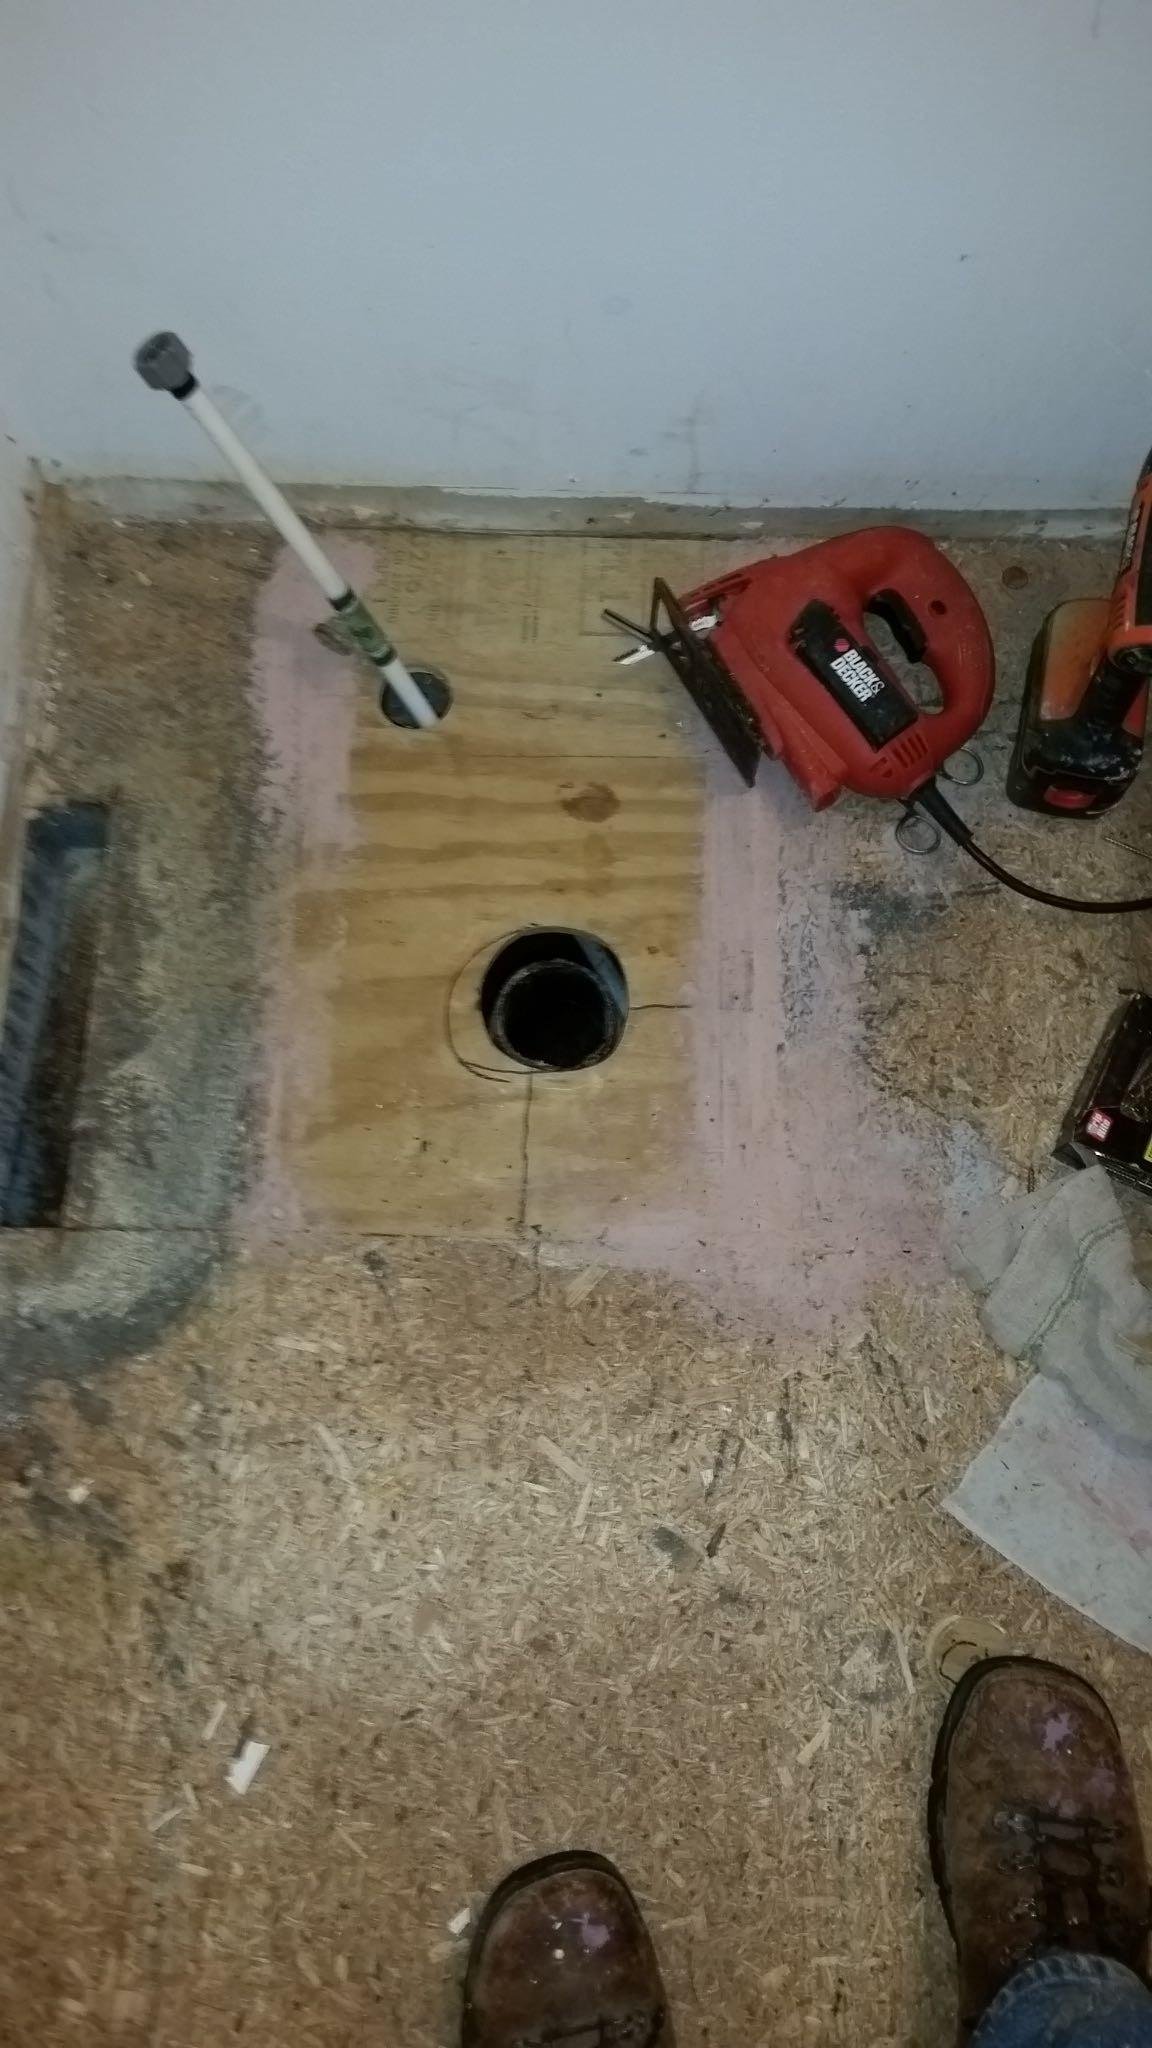
once that was done i needed a cheap way to cover the floor that was durable yet elegant ,and that was when I learned about the forever floor.
items needed:
roll shingling
liquid nails or flooring adhesive
caulking gun
cheap laytex paint and rollers
start off by cutting your shingles to fit and epoxying them one at a time to the floor making sure the seams are smooth and flat i had to weigh dow an edge that wanted to curl
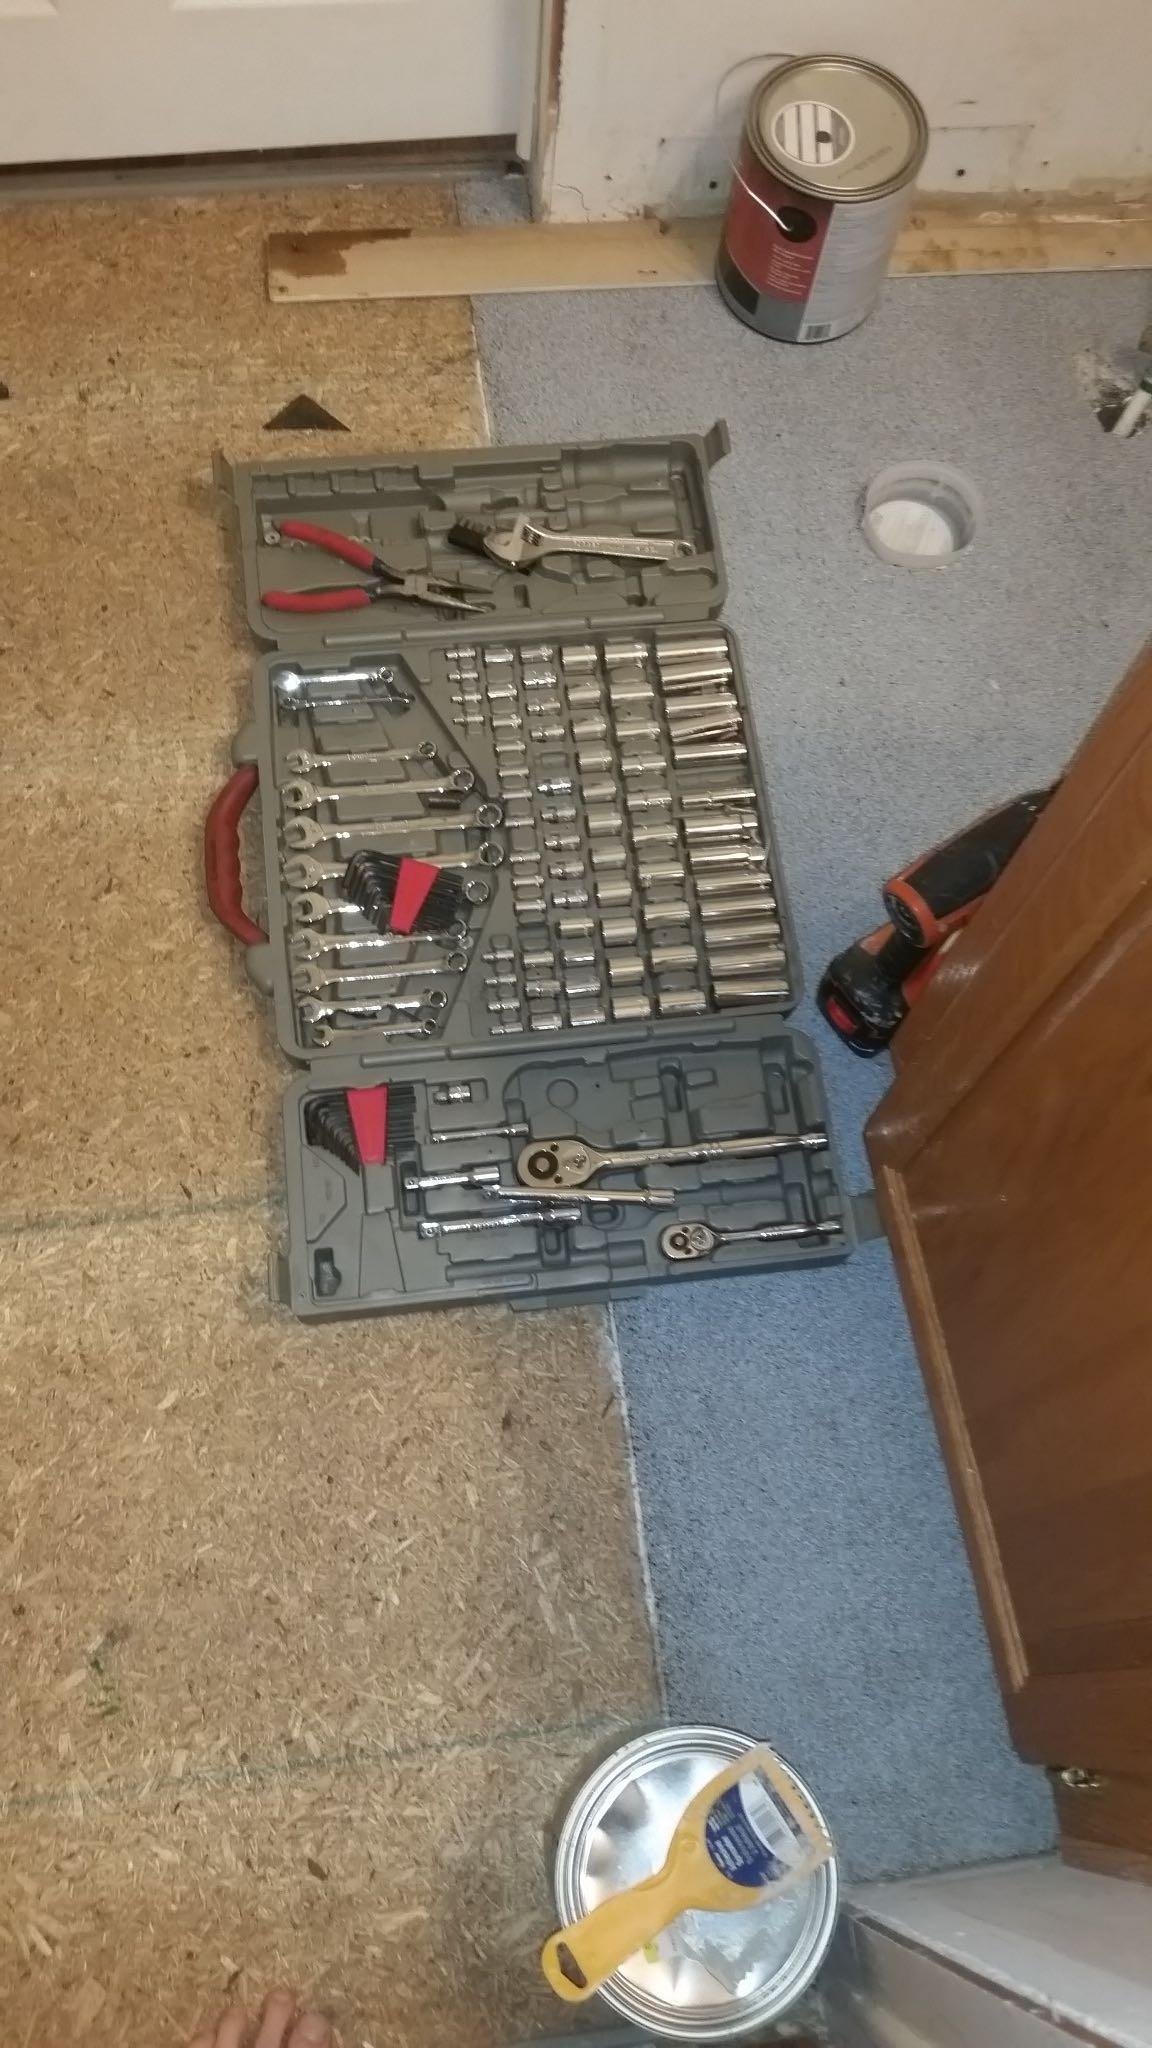
then do the subsequent pieces in my case i only needed two.
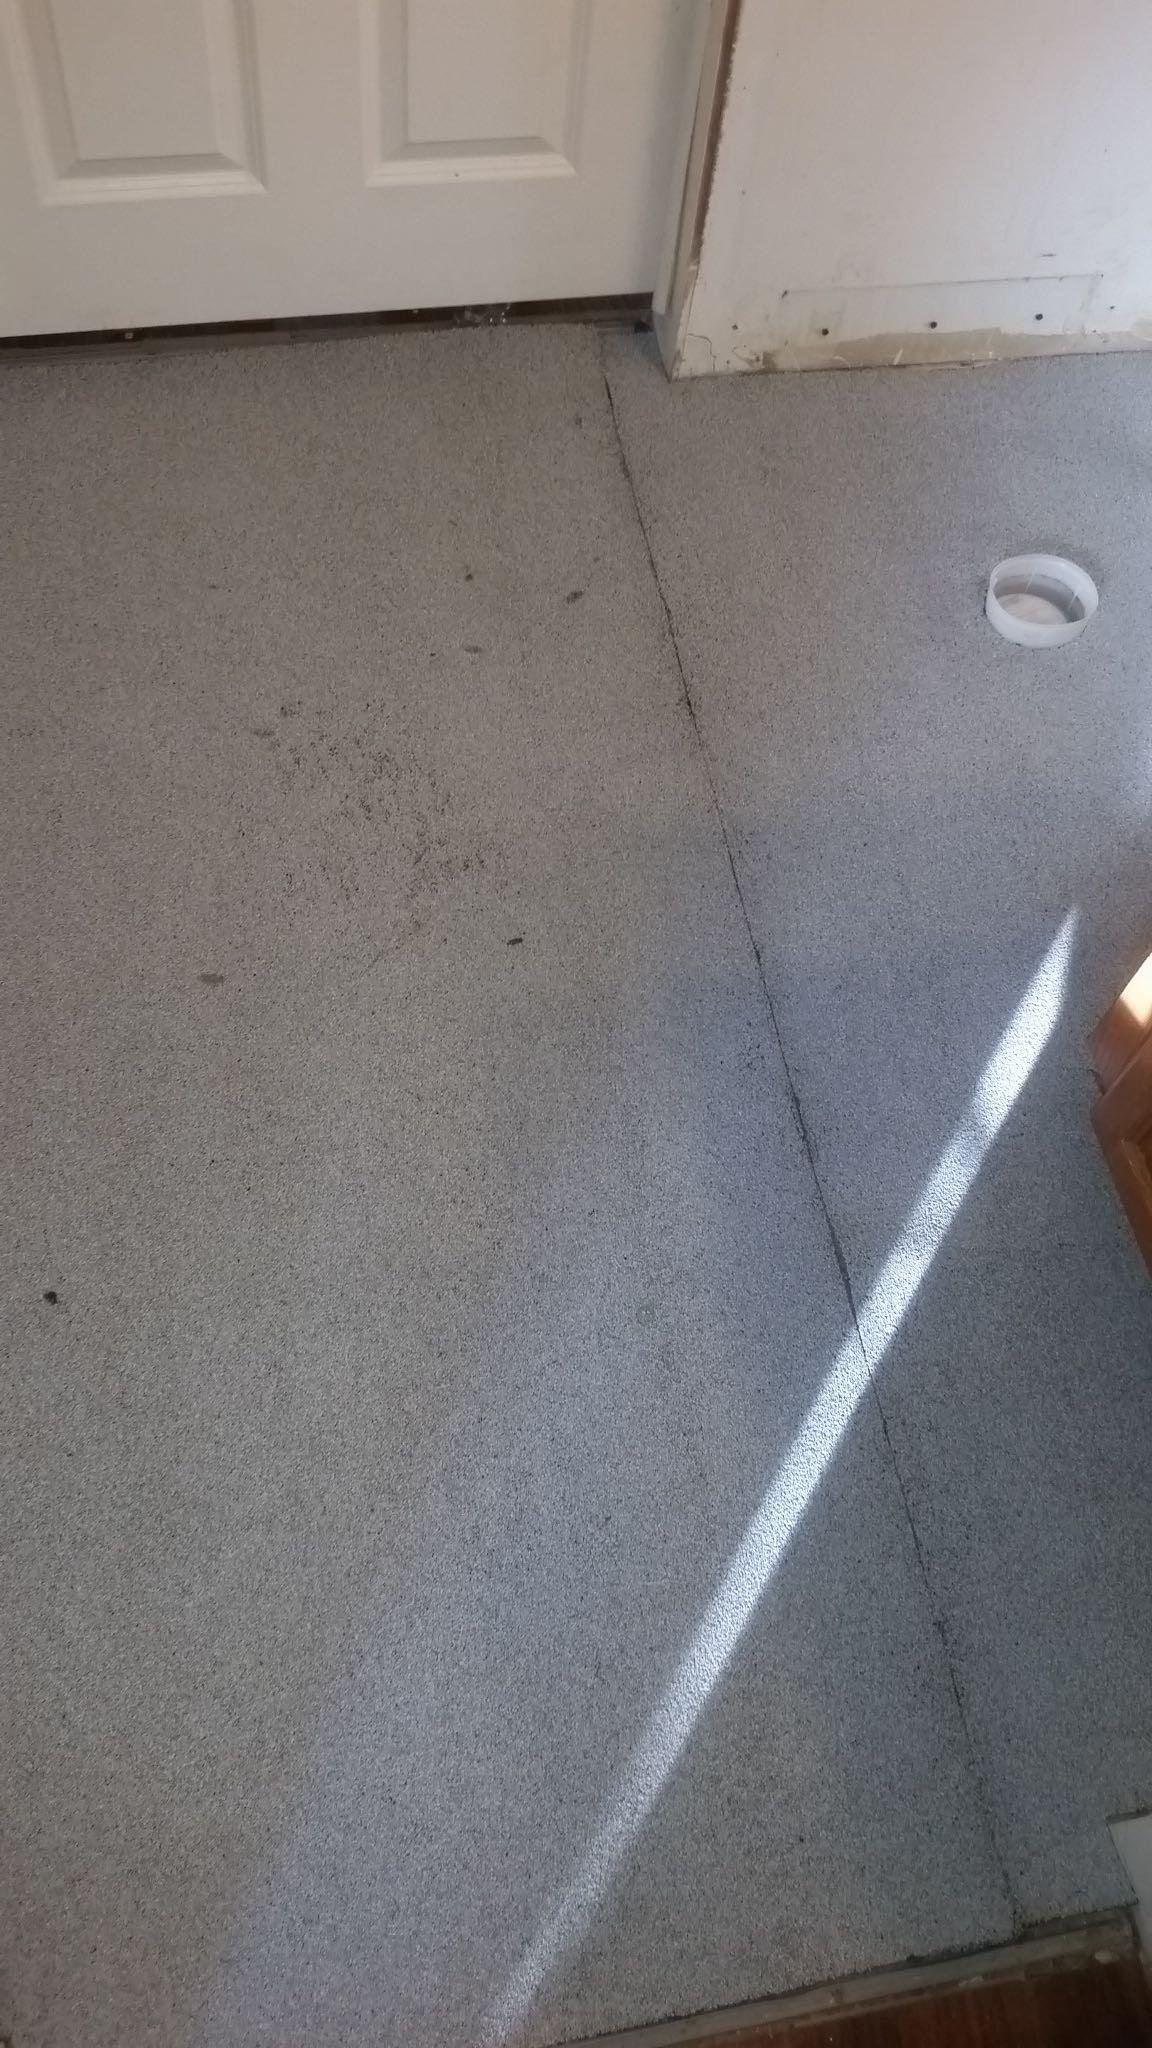
code
I don’t have pictures of the painting process because that is pretty self explanatory but I will tell you this takes several coats to lock the gravel down and build bulk.
Dor this I used miss tinted paint that our local hardware store practically gives away. Once its cured good and the texture you desire then put a top coat of good paint in whatever color or pattern you wish .
Now you wonder why its called a forever floor ? Well that is because if it ever gets damaged in any way you can cut a section out epoxy in a new piece and just re paint. here is where I had a tear around my water line that i repaired prior to painting.
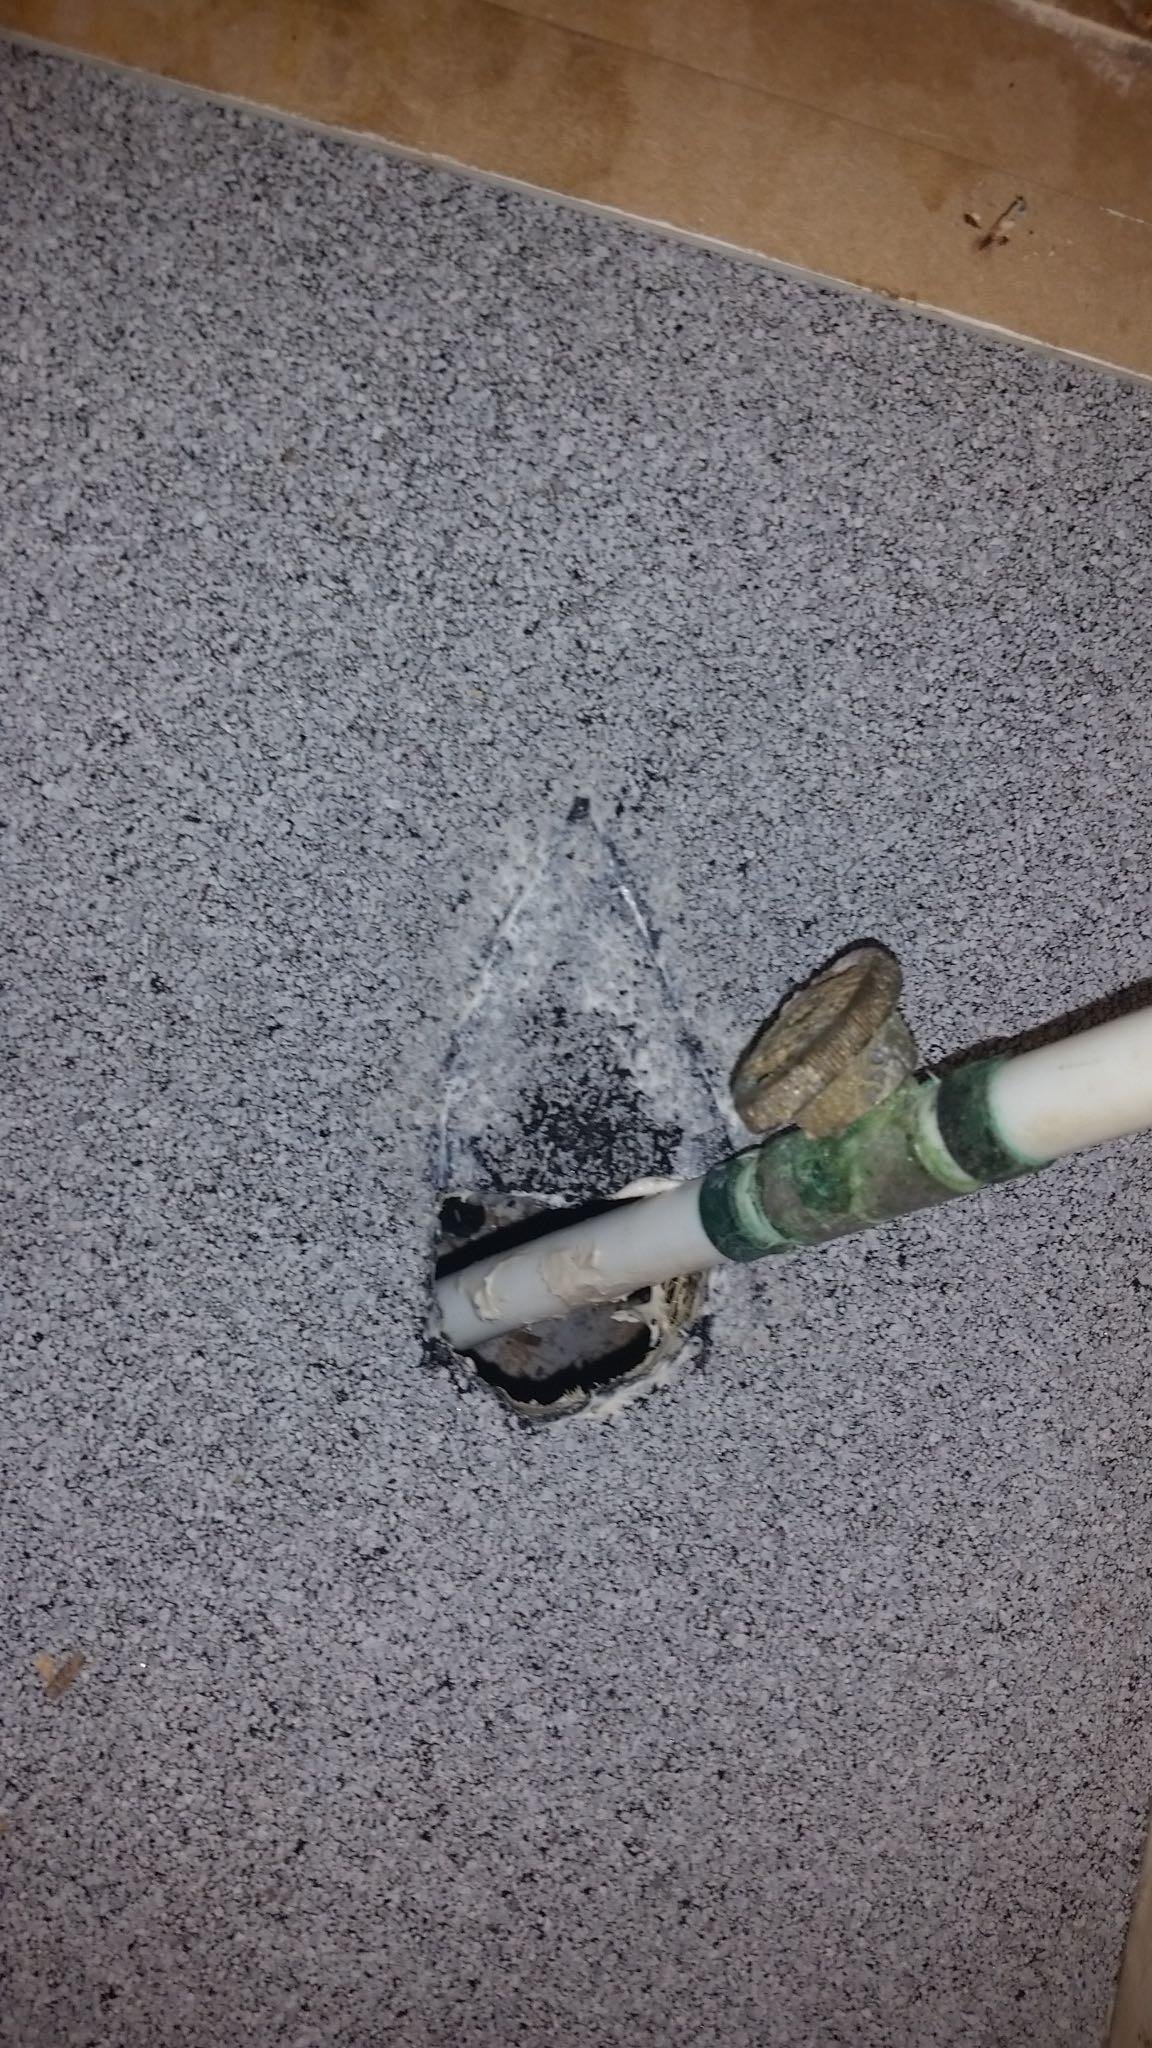
I Hope you have enjoyed this brief tutorial these floors are great for bathrooms , shops, cabins, and even kitchens
-Harley
Replies (2)
Out of curiosity, did you use that roofing paint for mobile homes? Seems like that's thick and gloopy enough to cover in fewer coats, and it's supposed to be waterproof.
Thanks!
nope just regular laytex