

Community post
Android App Development: Buttons, TextView and EditText Using Android Studio
What Will I Learn?
- The user will learn how to write a basic app and run it on an Android Phone.
- The user will learn how to create buttons and texts.
- The user will learn how to add an OnClickListener to a button.
Requirements
- A computer System is required for this tutorial.
- Java Software Development Kit(JDK) must be installed on your computer.
- Android Studio
Get JDK here
Get Android Studio here
Difficulty
Intermediate.
Tutorial Contents
This is the first tutorial on Android App Development and so we will look at how to create a Button, a TextView and an EditText widget.
Buttons
A button in general programming is a class which refers to a clickable component. In Android and most programming languages, buttons exist in various types.
Different types of Buttons include:
- Push Button
- Radio Button
- Sticky Buttons
This tutorial will concern itself with Push Buttons.
Buttons can perform functions and can also perform no action.
Buttons when created can be associated with Listeners. Listeners make it possible for buttons to perform an action when clicked or when pressed.
In Android, the Listener interface associated with the click of a button is called an OnClick Listener and this has a method “OnClick” which must always be implemented.
TextView
TextView provides the user with the opportunity to view text. This text can also be edited. A programmer may choose to make text in a TextView editable or un-editable.
TextView can also serve as a text editor, e.g Notepad. The basic job of TextView is to display readable text on the screen.
EditText
EditText is an extension of TextView. This provides the user with the means to provide input to the program. EditText also allows the user to enter input in different text styles and fonts.
The primary job of EditText is to allow the user to enter input through keypad.
In this tutorial we will create these three components prompting the user to enter a name. When the user enters a name, the user clicks a button and a message is returned confirming the user’s actions.
This tutorial is done in assumption that the user followed previous Java programming tutorials and has general knowledge of programming terms.
When a new project is started, the project is devided into two sections; activity_main and MainActivity.
activity_main
This section contains two areas; The Text Area and the Design Area.
Text
Text area is the code section. Adjustments can be made to the codes of the widgets to suite the programmers needs.
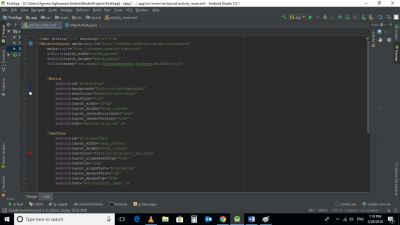
Text Area
Design
Design area contains all the GUI widgets in a palette and can be dragged on to an Activity.
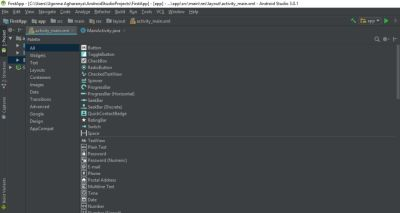
Design Area
MainActivity
This section contains the main codes required to run the program.
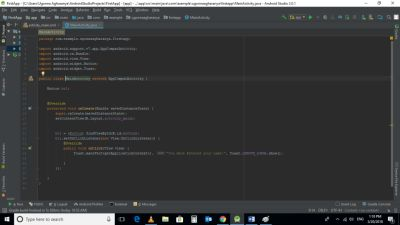
CODE BLOCK
activity_main Text
<?xml version="1.0" encoding="utf-8"?>
<RelativeLayout xmlns:android="http://schemas.android.com/apk/res/android"
    xmlns:tools="http://schemas.android.com/tools"
    android:layout_width="match_parent"
    android:layout_height="match_parent"
    tools:context="com.example.ugonnaagharanya.firstapp.MainActivity">
    <Button
        android:id="@+id/button"
        android:background="@color/colorPrimaryDark"
        android:textColor="@android:color/white"
        android:textStyle="bold"
        android:layout_width="200dp"
        android:layout_height="wrap_content"
        android:layout_centerHorizontal="true"
        android:layout_centerVertical="true"
        android:text="@string/click_me" />
    <TextView
        android:id="@+id/textView"
        android:layout_width="wrap_content"
        android:layout_height="wrap_content"
        android:textColor="@android:color/holo_red_dark"
        android:layout_alignParentTop="true"
        android:textSize="40sp"
        android:layout_alignStart="@+id/button"
        android:layout_marginStart="1dp"
        android:layout_marginTop="28dp"
        android:text="@string/enter_name" />
    <EditText
        android:id="@+id/editText"
        android:layout_width="wrap_content"
        android:layout_height="wrap_content"
        android:layout_below="@+id/textView"
        android:layout_centerHorizontal="true"
        android:layout_marginTop="30dp"
        android:ems="15"
        android:inputType="textPersonName"
        android:text=""
        tools:ignore="LabelFor" />


</RelativeLayout>
MainActivity
package com.example.ugonnaagharanya.firstapp;
import android.support.v7.app.AppCompatActivity;
import android.os.Bundle;
import android.view.View;
import android.widget.Button;
import android.widget.Toast;
public class MainActivity extends AppCompatActivity {
Button bt1;
    @Override
    protected void onCreate(Bundle savedInstanceState) {
        super.onCreate(savedInstanceState);
        setContentView(R.layout.activity_main);
        bt1 = (Button) findViewById(R.id.button);
        bt1.setOnClickListener(new View.OnClickListener() {
            @Override
            public void onClick(View view) {
                 Toast.makeText(getApplicationContext(), "You Have Entered your name!", Toast.LENGTH_LONG).show();

            }
        });

    }
}
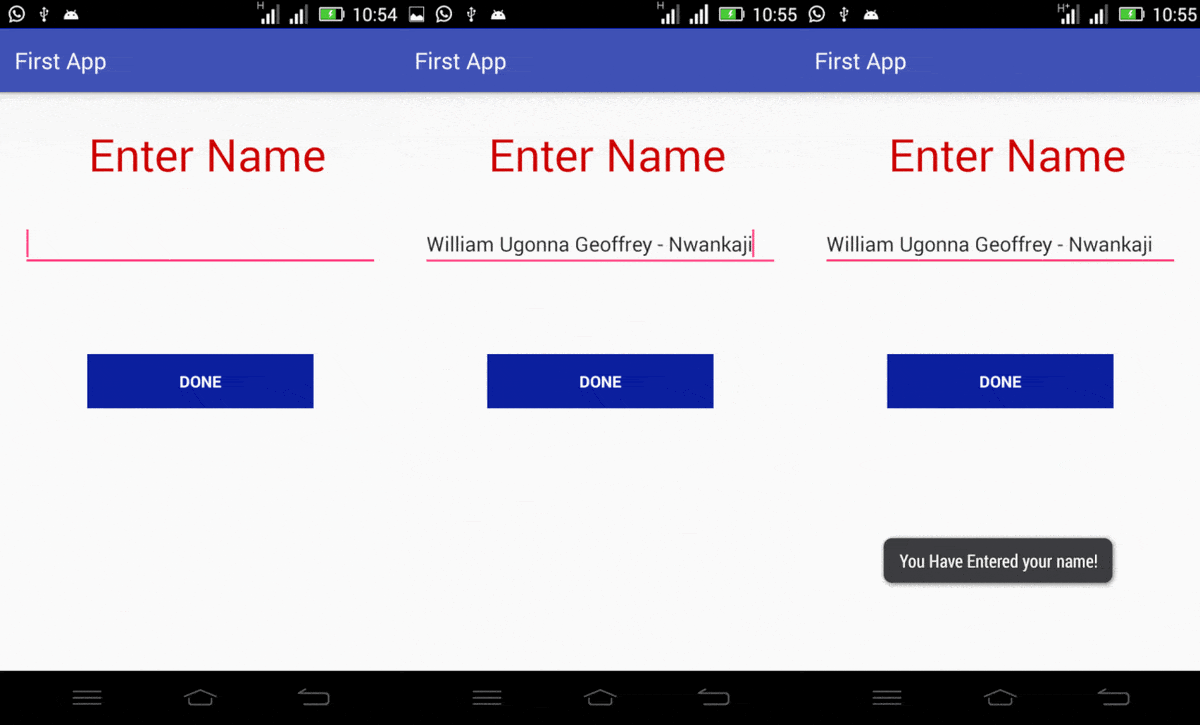
Output
activity_main Text
<?xml version="1.0" encoding="utf-8"?>
<RelativeLayout xmlns:android="http://schemas.android.com/apk/res/android"
    xmlns:tools="http://schemas.android.com/tools"
    android:layout_width="match_parent"
    android:layout_height="match_parent"
    tools:context="com.example.ugonnaagharanya.firstapp.MainActivity">
The above code is generated by default in the activity_main. They represent the Extensible Markup Language(XML) tags and codes used for layout desing. XML makes an android program consume less space.
<Button
    android:id="@+id/button"
    android:background="@color/colorPrimaryDark"
    android:textColor="@android:color/white"
    android:textStyle="bold"
    android:layout_width="200dp"
    android:layout_height="wrap_content"
    android:layout_centerHorizontal="true"
    android:layout_centerVertical="true"
    android:text="@string/click_me" />
When a widget is selected on the design panel, the default codes for it is generated, however, the programmer can edit these codes to suite his purposes.
When a button is selected, a number of components is set by default. If a button is selected and dragged to the center of the activity, the layout_centerHorizontal and layout_centerVertical becomes true.
We can also set some button attributes such as background, textColor and textStyle to suit the programmers specifications. Android has inbuilt codes for initiating these colors and text styles.
Every construct has an id. This id is basically for identification when the construct is being referred to in the MainActivity.
<TextView
    android:id="@+id/textView"
    android:layout_width="wrap_content"
    android:layout_height="wrap_content"
    android:textColor="@android:color/holo_red_dark"
    android:layout_alignParentTop="true"
    android:textSize="40sp"
    android:layout_alignStart="@+id/button"
    android:layout_marginStart="1dp"
    android:layout_marginTop="28dp"
    android:text="@string/enter_name" />
The same applies to TextView, when selected, some components and attributes are set by default, but the programmer may choose to adjust textSize and textColor to suit his needs.
layout_marginStart and layout_marginTop describes the distance between the component above and the component itself. In this case the distance is set to 28dp.
As of button, TextView also needs an id for identification purposes.
<EditText
    android:id="@+id/editText"
    android:layout_width="wrap_content"
    android:layout_height="wrap_content"
    android:layout_below="@+id/textView"
    android:layout_centerHorizontal="true"
    android:layout_marginTop="30dp"
    android:ems="15"
    android:inputType="textPersonName"
    android:text=""
    tools:ignore="LabelFor" />
As with the above two constructs the same attributes are set by default, but the programmer may change as the programmer wishes.
The layout = “wrap content”. This means that the space in the EditText only goes as far as the text goes. This applies for both layout_centerVertical and layout_centerHorizontal.
MainActivity
import android.support.v7.app.AppCompatActivity;
import android.os.Bundle;
import android.view.View;
import android.widget.Button;
import android.widget.Toast;
Import statements containing widgets classes.Objects of these classes will be created in the program.
public class MainActivity extends AppCompatActivity {

    Button bt1;


    @Override
    protected void onCreate(Bundle savedInstanceState) {
        super.onCreate(savedInstanceState);
        setContentView(R.layout.activity_main);
MainActivity Class
An activity provides a template where the programmer can write codes and implement codes written in the activity_main.
It also allows programmers to import classes and GUI components.
onCreate Method
The onCreate method is called when Activity class is created.
setContentView
The setContentView(R.layout.activity_main) this method provides information about the layout resource.
        bt1 = (Button) findViewById(R.id.button);
        bt1.setOnClickListener(new View.OnClickListener() {
            @Override
            public void onClick(View view) {
                 Toast.makeText(getApplicationContext(), "You Have Entered your name!", Toast.LENGTH_LONG).show();

            }
        });
    }
}
The button object named “bt1” is created. The findViewById method is used to refer to it in activity_main.
An OnClickListener is the listener interface associated with Buttons in Android. The onClick method is the method which has to be implemented when a button is clicked. The Toast.makeText ``` method is responsible for displaying messages to the screen. You can display the toast notification by calling show() method.
When the button is clicked, the method is called and the text it contains is displayed on the bottom of the screen.
To test the program, you need an android device and a USB cable or you may have an android emulator installed on your computer.
This tutorial uses an Android device connected to the computer via a USB cable.
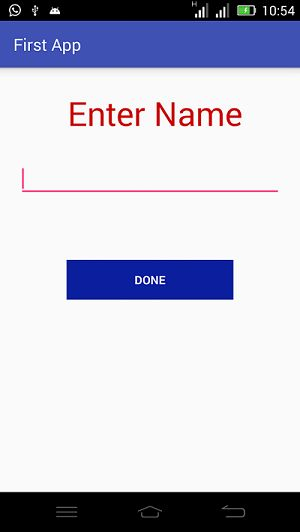
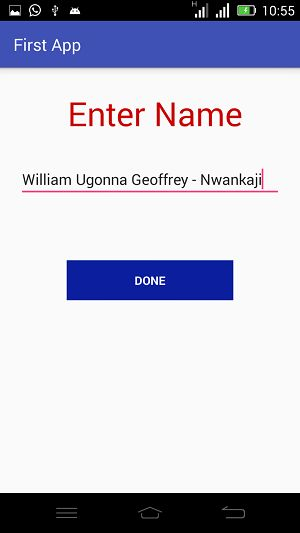
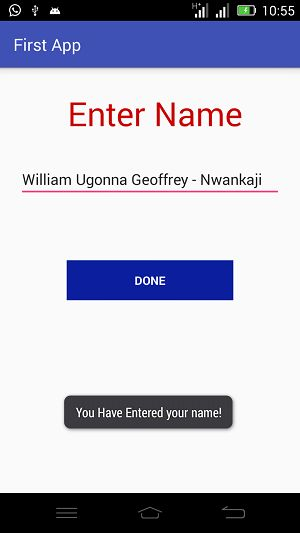
When the program is run, the user is prompted to input a name, when this is done and the user hits the Done button, the name entered is returned in a message at the bottom of the screen.
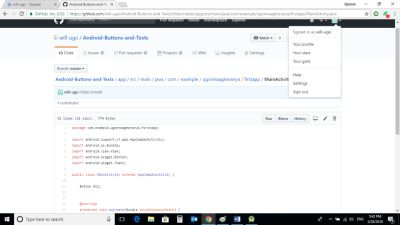
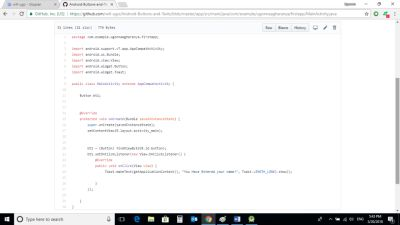
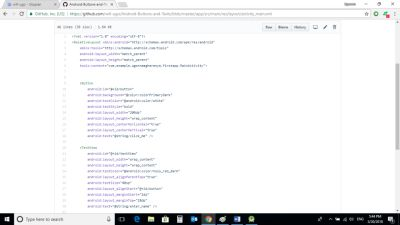
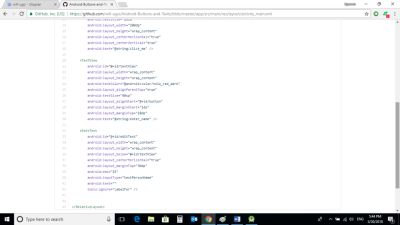
Source Codes from GitHub Account.
You can get the codes at my GitHub Account if you want to try it on your own.
REFERENCES
Curriculum
This is the first contribution on Android Development but previous contributions on Java are:
Replies (12)
Congratulations! This post has been upvoted from the communal account, @minnowsupport, by will-ugo from the Minnow Support Project. It's a witness project run by aggroed, ausbitbank, teamsteem, theprophet0, someguy123, neoxian, followbtcnews, and netuoso. The goal is to help Steemit grow by supporting Minnows. Please find us at the Peace, Abundance, and Liberty Network (PALnet) Discord Channel. It's a completely public and open space to all members of the Steemit community who voluntarily choose to be there.
If you would like to delegate to the Minnow Support Project you can do so by clicking on the following links: 50SP, 100SP, 250SP, 500SP, 1000SP, 5000SP.
Be sure to leave at least 50SP undelegated on your account.
Your contribution cannot be approved because it does not follow the Utopian Rules, and is considered as plagiarism. Plagiarism is not allowed on Utopian, and posts that engage in plagiarism will be flagged and hidden forever.
Stop copy & paste contents from others. You are using a lot of contents illegally from here:
You can contact us on Discord.
[utopian-moderator]
Thanks for your response.
I disagree with you in the belief that the above contribution is considered as plagiarism for the following reasons:
I only quoted their definitions so i can use it to explain constructs in my contribution.
Quoting someone in your work is not illegal, this is a common practice.
This is my Original work.
Hello! I'm @dakeshi's supervisor.
While the tutorial may mostly be your own original work, quoting (copy-pasting, in this case) other sources without giving a clear source & permission to use these sources for monetization is a legal gray area for us. As such, we can't accept contributions that use sources that aren't fully quoted and under proper licenses.
Thank you for your response.
Could it be considered if I explain these constructs using my own words while taking your specification into consideration? I was in the belief that you can quote others, as long as you reference it.
Absolutely. I would gladly review your work again if that is the case.
Hello Sir, I contacted you on discord, kindly view my message there.
Thanks.
Thank you for the contribution. It has been approved.
You can contact us on Discord.
[utopian-moderator]
Hey @jestemkioskiem, I just gave you a tip for your hard work on moderation. Upvote this comment to support the utopian moderators and increase your future rewards!
Hey @will-ugo I am @utopian-io. I have just upvoted you!
Achievements
Community-Driven Witness!
I am the first and only Steem Community-Driven Witness. Participate on Discord. Lets GROW TOGETHER!
Up-vote this comment to grow my power and help Open Source contributions like this one. Want to chat? Join me on Discord https://discord.gg/Pc8HG9x
Congratulations @will-ugo! You received a personal award!
Click here to view your Board of Honor
Congratulations @will-ugo! You received a personal award!
You can view your badges on your Steem Board and compare to others on the Steem Ranking
Vote for @Steemitboard as a witness to get one more award and increased upvotes!